Azulejo Tile Painting: From Pattern to Glazed Finish
Learn how Portuguese artisans translate geometric designs onto ceramic tiles through sketch work, underglaze techniques, and the firing process that creates that distinctive glazed finish.
Understanding the Azulejo Tradition
Azulejos aren't just tiles — they're stories painted in cobalt, yellow, and green. This Portuguese tradition stretches back centuries, with patterns that tell tales of commerce routes, cultural exchange, and pure artistic passion. You'll find them covering entire church walls, framing doorways, and decorating the most ordinary kitchen backsplashes.
What makes azulejo different from regular tile painting? It's the combination of technique, materials, and patience. The glazing process creates that smooth, glass-like finish that lasts for centuries. When you paint an azulejo, you're not just decorating a surface — you're creating something built to endure.
The Four Stages of Tile Creation
From blank ceramic to gallery-worthy finished piece, the journey involves precision and multiple stages of refinement.
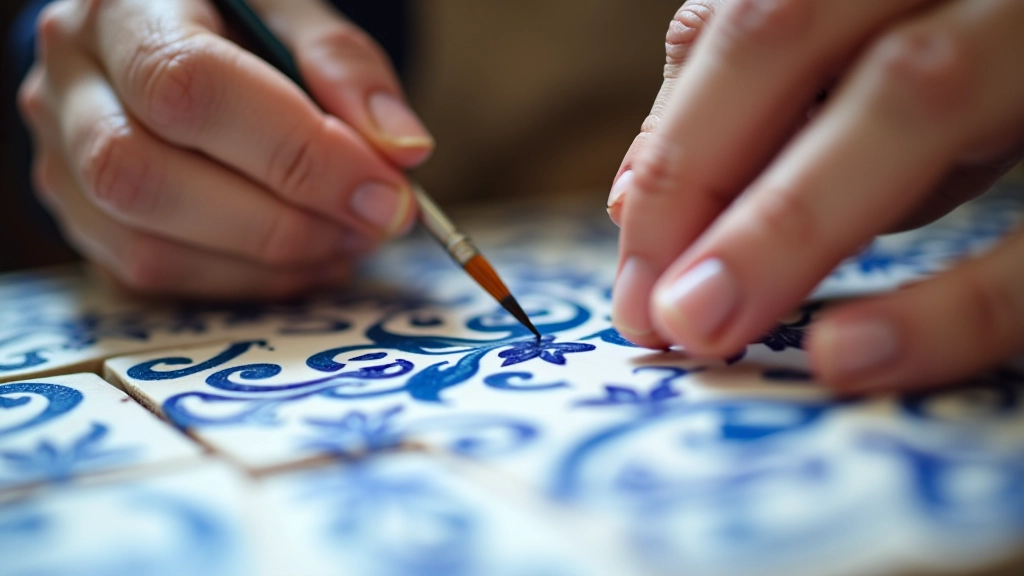
Sketch and Transfer
You'll start with paper and pencil, creating your geometric pattern or freehand design. Once you're happy with it, transfer it onto the tile surface using carbon paper or light tracing. Most artisans sketch lightly — these lines will be covered by paint anyway, but they guide your hand through the underglaze work.
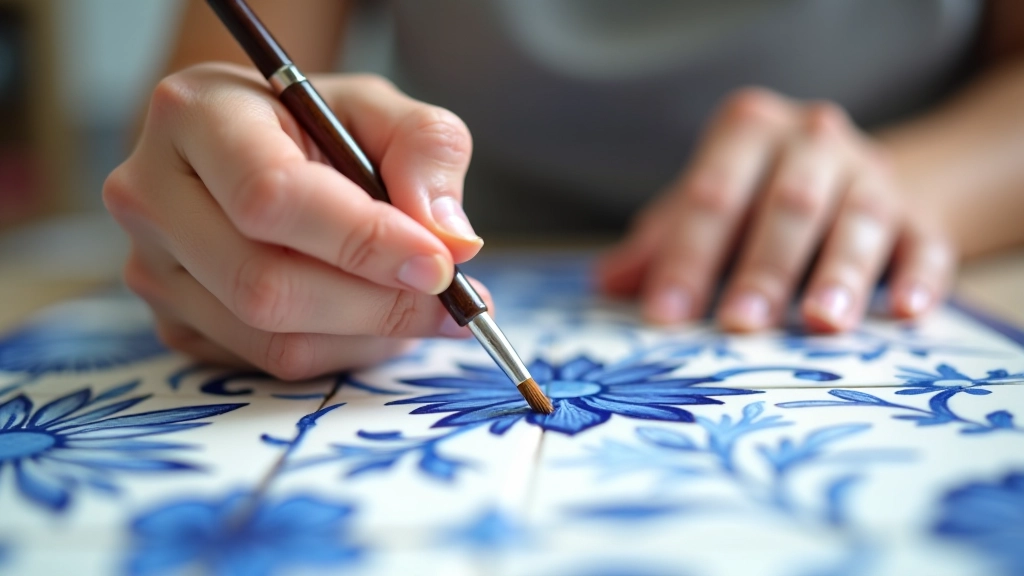
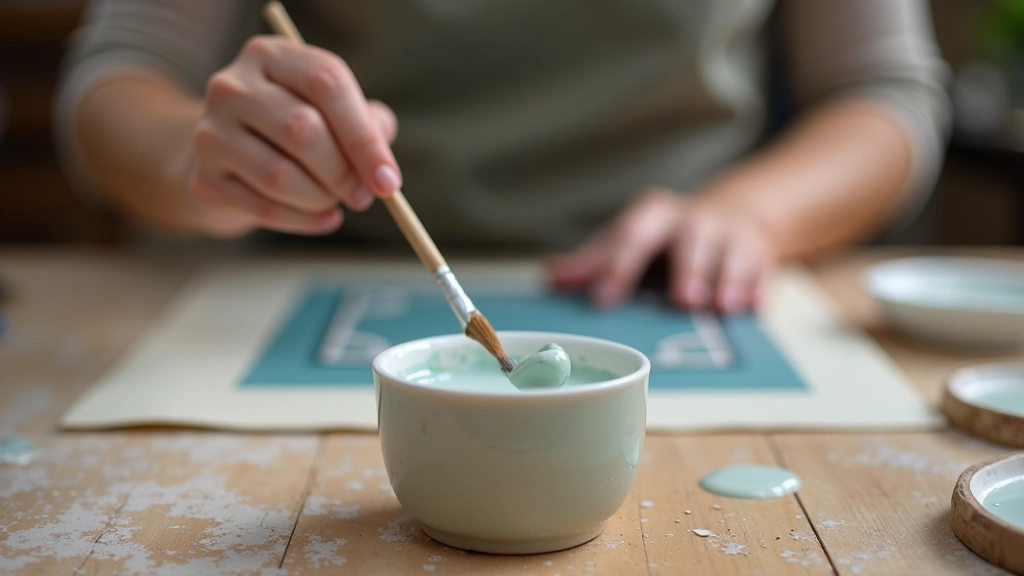
Underglaze Application
This is where the color lives. Underglaze paints are thicker than regular watercolors but thinner than acrylics — they've got their own personality. You'll apply 2-3 coats depending on the color's intensity. Blues and cobalt need just one layer. Yellows? Those often need two to really sing. The brush matters here — soft bristles let the color flow without harsh strokes.
Outline and Detail Work
Once your base colors are down, you'll define edges and add intricate details using a darker underglaze — usually black or deep blue. This is the meticulous part. Fine brushes (sizes 00 to 2) give you control. Some artisans use this stage to create those signature flowing lines that separate color blocks and add movement to geometric patterns.
Glazing and Firing
The magic happens in the kiln. Clear glaze is applied over your painted work, then the tile goes into a kiln at around 1200°C. The heat fuses everything together, transforming matte underglaze into that luminous, protective finish you see on centuries-old tiles. It's the difference between paint and permanence.
Essential Techniques That Make the Difference
The basics of azulejo painting sound simple. But there's real craft involved in getting the results you want. Consistency matters — keeping your underglaze at the right consistency so it flows smoothly without pooling. Temperature awareness matters too. Your kiln temperature directly affects how vibrant your colors come out. Too cool, and you'll get muted tones. Too hot, and colors can shift or bleed into each other.
You'll also discover the importance of layering. Thin layers dry faster and give you better control. Three thin coats of blue look richer than one thick coat, and they're easier to fix if you make a mistake. Many beginners rush this stage — they want to see the finished product. But spending an extra hour on layering and drying time means the difference between amateur and accomplished.
Pro tip: Let underglaze dry completely between coats. Rushing this creates uneven coverage and increases the chance of the second layer lifting the first one off the tile.
The Materials You'll Actually Use
Quality tools and materials don't need to be expensive, but they do need to be appropriate for the job.
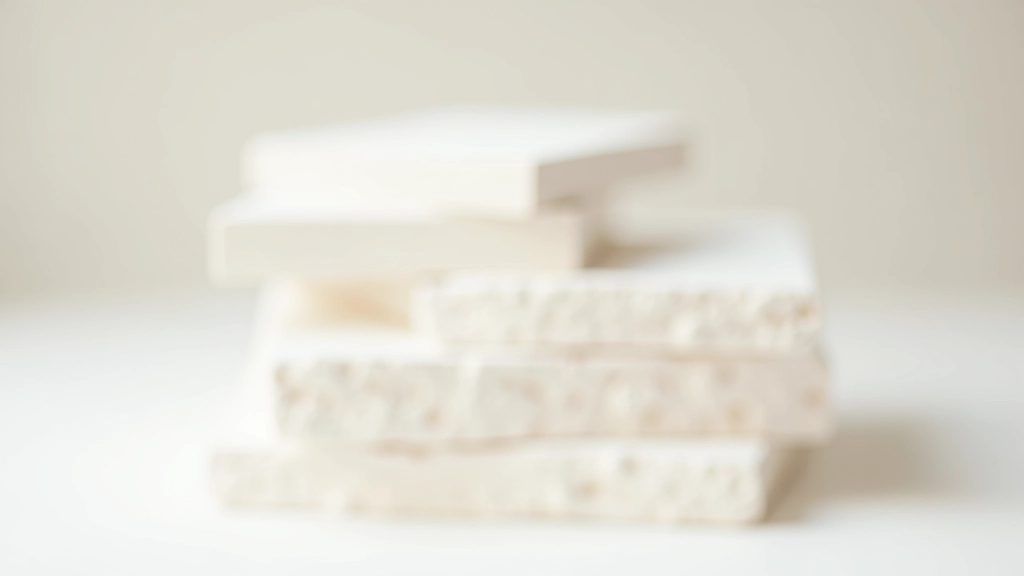
Tiles
Start with bisque-fired tiles — these have been fired once and are ready for painting. Most beginners work with 10-15cm square tiles. They're forgiving in size and quick enough to complete in a reasonable timeframe.
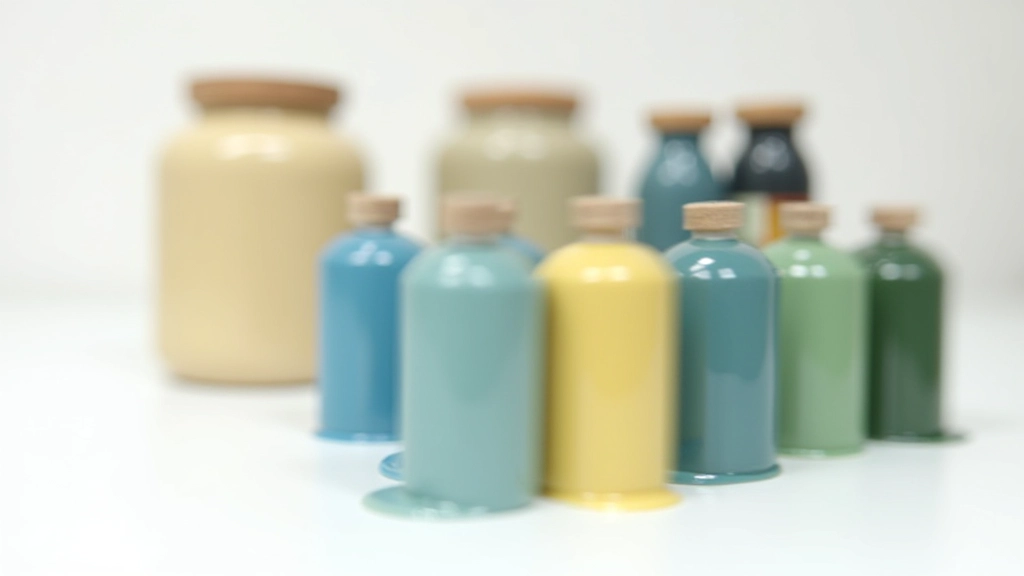
Underglaze
You'll need proper ceramic underglaze, not regular acrylic paint. Cobalt blue, yellow ochre, and green are your foundation colors. These transform completely during firing — what looks muted on the raw tile becomes vibrant after glazing.
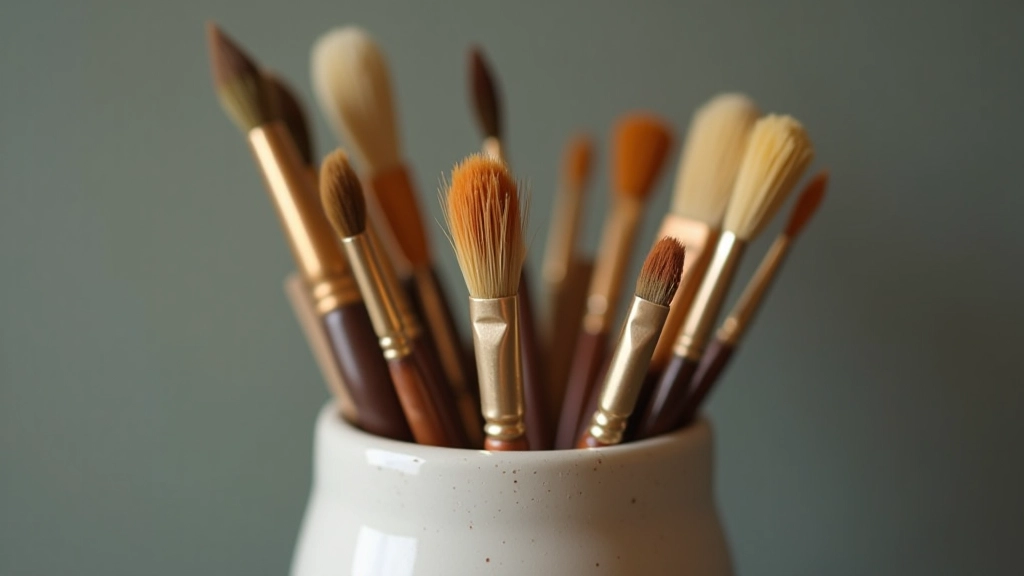
Brushes
You'll want rounds (sizes 1-4) for general work and liners (sizes 00-2) for detail. Soft natural bristles work best with underglaze. One quality brush beats five cheap ones — they hold more pigment and give you better control.
Clear Glaze
This is what creates that signature glossy finish. You'll apply it after all painting is complete, then fire the tile a second time. Most studios have a specific brand they trust — ask instructors which glaze they recommend for your kiln.
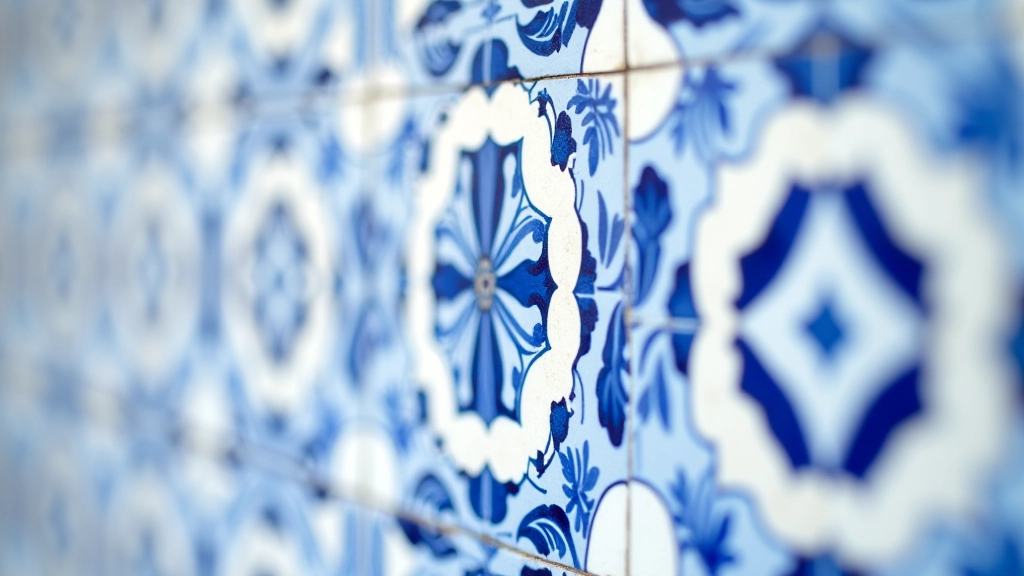
Pattern Inspiration and Design Principles
Portuguese azulejo patterns fall into a few recognizable families. You've got the geometric repeats — stars, interlocking squares, borders that march around the edge. Then there's the pictorial style, where entire scenes unfold across multiple tiles. Ships, gardens, religious scenes. These tell stories and were incredibly popular during the 16th and 17th centuries.
When you're starting out, stick to geometric patterns. They're forgiving. If one line isn't perfect, it's absorbed into the overall pattern. A freehand bird? That needs confidence. One curved line that's slightly off and it's noticeable. But repeating geometric elements? Those let you build skill without pressure.
"The pattern is your conversation with the tile. You're not fighting against its surface — you're speaking to it."
— Portuguese Master Artisan

Your First Tile Awaits
Azulejo painting rewards patience. The first tile you complete won't be perfect — nobody's is. But it'll be yours. You'll see the journey from blank ceramic to finished piece, understand why these tiles have survived centuries of Portuguese weather and time, and develop real respect for the artisans who've been doing this for generations.
The techniques you'll learn are straightforward. Sketch, paint, detail, glaze, fire. But the craft — that comes from repetition, attention to how colors interact, and willingness to experiment. Whether you're drawn to the meditative repetition of geometric patterns or the storytelling potential of pictorial tiles, azulejo painting offers something deeply satisfying.
Ready to begin? Enroll in our Azulejo Tile Painting workshop and create your first tile this month.
Explore Our CoursesAbout This Guide
This article provides educational information about traditional azulejo tile painting techniques and materials. Specific results, timelines, and outcomes vary based on individual experience level, materials used, and kiln specifications. Always follow safety guidelines when working with ceramics, kilns, and firing processes. Consult with experienced instructors for hands-on training and proper technique instruction. This guide is informational and not a substitute for professional in-person instruction.