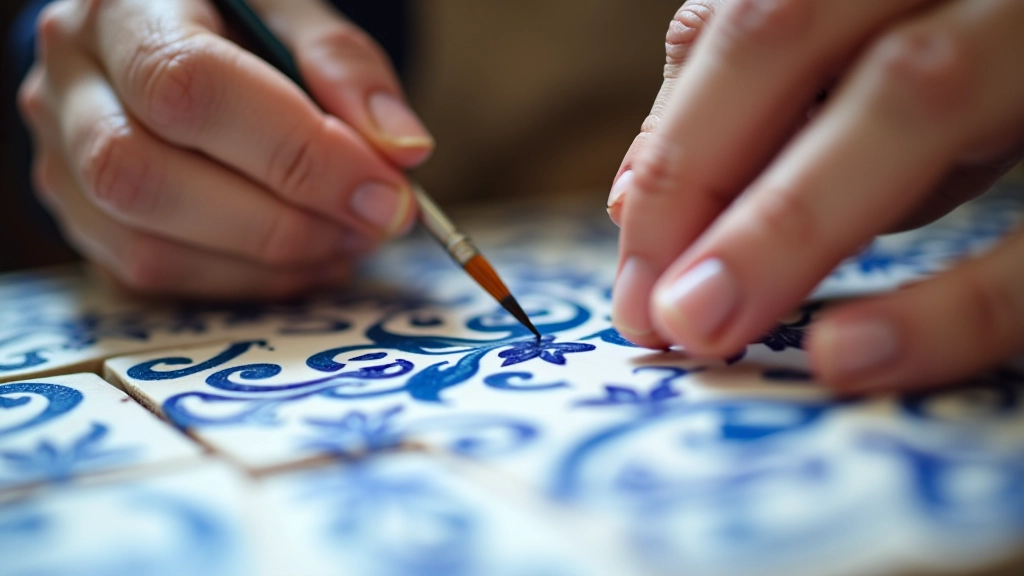
Azulejo Tile Painting: From Pattern to Glazed Finish
Learn how Portuguese artisans translate geometric designs onto ceramic tiles. Discover the history, techniques, and tools that bring these beautiful patterns to life.
Read More →Master the essential hand-stitching techniques that form the foundation of textile art. From cross stitch to backstitch, learn the methods that craftspeople have refined over centuries.
There's something honest about working with a needle and thread. You're not scrolling through finished designs on a screen—you're creating them, stitch by stitch. The rhythm builds naturally, your hands learn the movements, and before long you're developing real control over your work.
Needlework teaches patience in a way that's actually rewarding. Unlike tasks that feel like endless repetition, each stitch brings you visibly closer to a finished piece you made yourself. Most people notice real improvement in their precision and rhythm after just 4-6 weeks of regular practice.
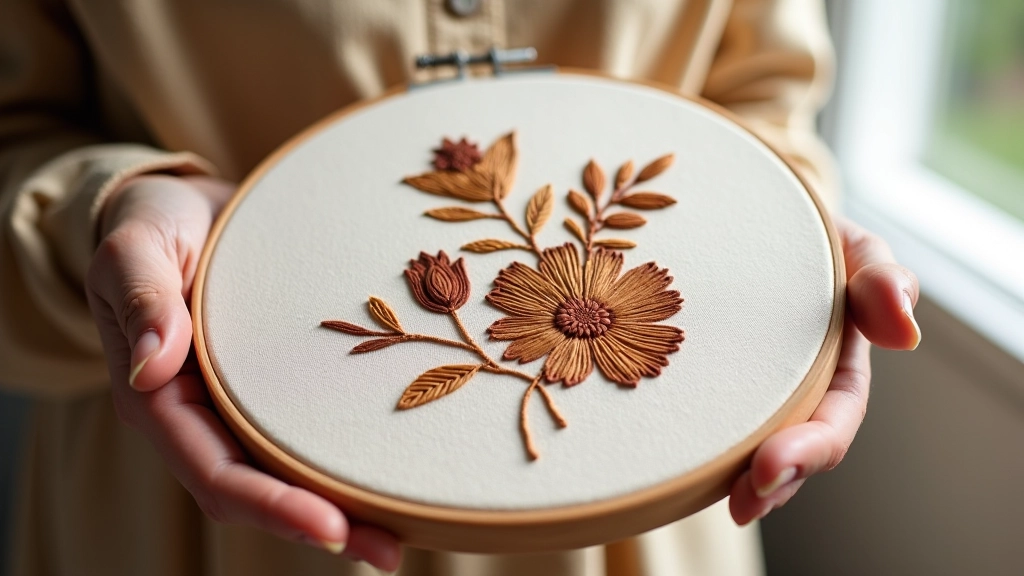
Every embroiderer starts with the same three stitches: cross stitch, backstitch, and fill stitch. These aren't fancy or complicated. They're the building blocks. Master these three and you've got the foundation for everything else.
Two diagonal stitches that cross over each other, creating an X. This is usually the first stitch beginners learn because it's forgiving and creates clean, uniform patterns. The key is keeping your crosses consistent—same angle, same size every time.
The workhorse stitch for outlines and details. You're literally moving backward with each stitch, creating a solid line. It's tight, it's clean, and it's how you create definition in your work. Backstitching teaches you control because every stitch shows.
Long, smooth stitches that sit side by side to fill in areas with solid color. This one takes practice. You'll learn about tension, about keeping your stitches parallel, about when to angle your needle. But once you've got it, your work suddenly looks finished and polished.
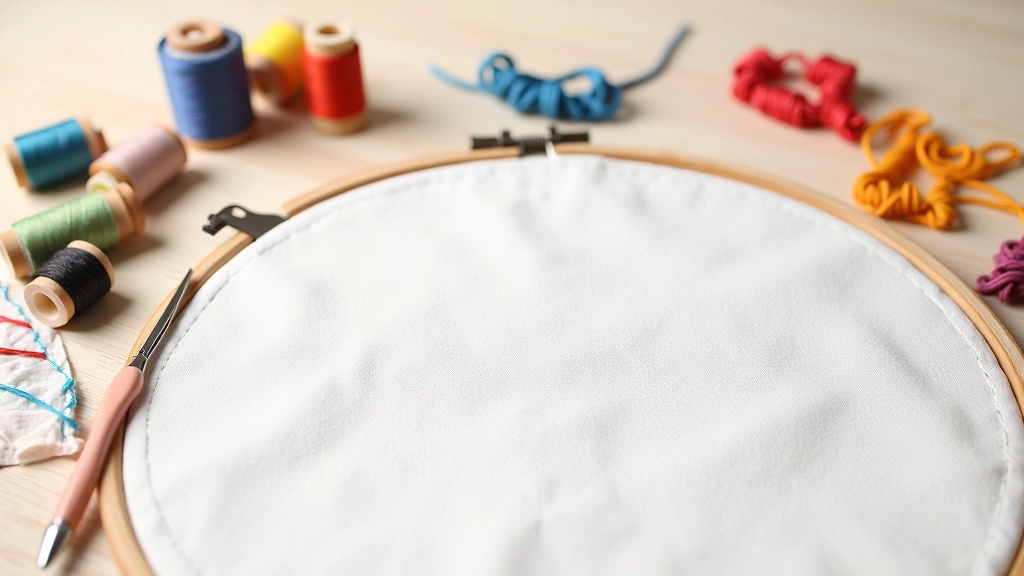
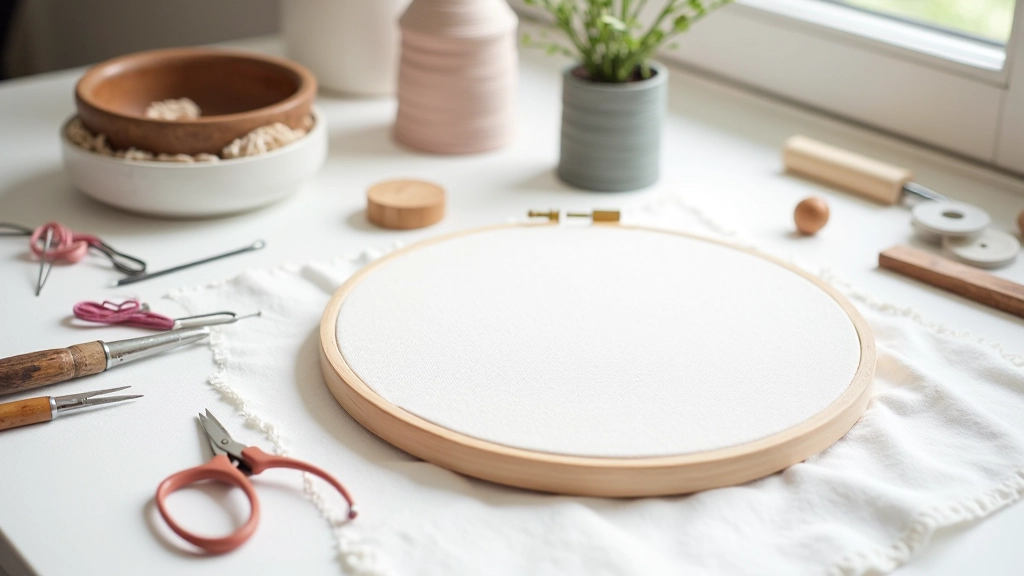
Here's what won't cost you much but makes a real difference. You need a decent needle—nothing fancy, just one that fits your hand comfortably and has an eye large enough for your thread. You need embroidery floss in colors you actually want to work with. And you need fabric. Beginners usually start with even-weave linen because the grid makes it easier to keep your stitches consistent.
The hoop matters too. Get one that's not warped, that tightens securely, and that's a size you can manage—8 inches is good for most beginners. A stand helps because it frees both your hands. Small scissors for cutting thread are essential. You don't need anything expensive, just tools that work.
What you absolutely don't need: designer threads that cost £20 a skein, custom patterns printed on silk, or any kind of special equipment. Plenty of people produce beautiful work with basic supplies. Skill comes from practice, not price tags.
Most courses start beginners with a small piece—maybe a 4-inch square with a basic geometric pattern. Here's how it works:
Cut your fabric to size, secure it in the hoop, and make sure it's taut but not strained. This takes about 5 minutes once you've done it a few times. The tension matters—too loose and your stitches will bunch, too tight and you'll wear yourself out.
Begin with cross stitches in a basic pattern. You'll make mistakes. Everyone does. Stitches will be uneven, your rhythm will be off. That's the whole point—you're building the muscle memory and the feel for how the needle moves through fabric.
Once your filled areas are done, you'll use backstitch to outline them. This is where your piece suddenly looks intentional and finished. The outlines define the shapes and give everything clarity.
You'll learn how to secure your threads on the back, how to finish the edges so your work doesn't unravel. Then you've got something real—a piece you made with your hands, that you can frame or gift or just look at and feel proud of.
Most beginner courses run 8-12 weeks, meeting once or twice a week for about 2 hours each session. That's enough time to get comfortable with the basic stitches and complete 2-3 projects of increasing complexity.
"Wasn't sure I'd have the patience for it honestly. But after the first month I could actually feel the difference in my control. By week eight I'd finished a piece I was genuinely proud of showing people."
— Maria, 58
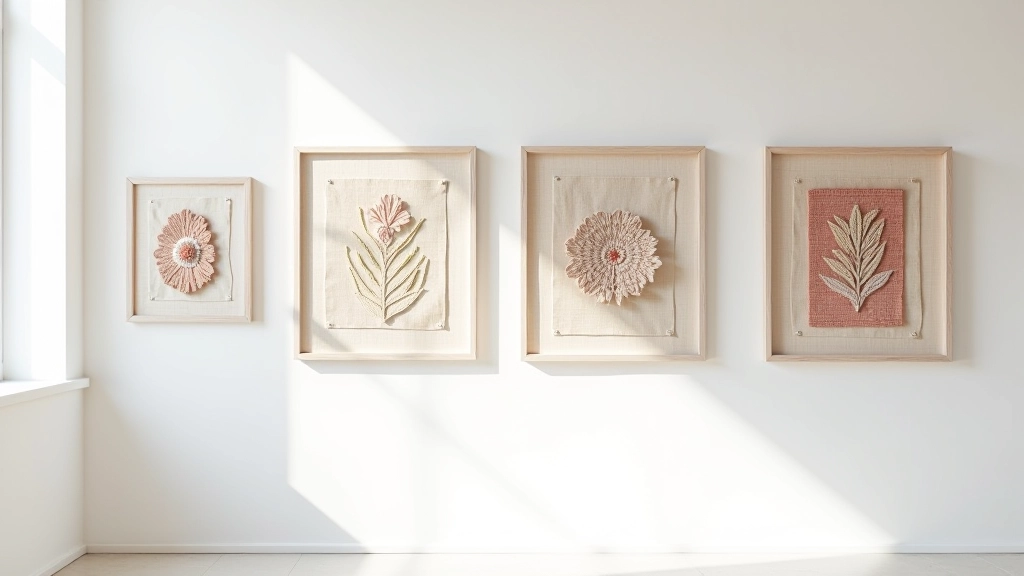
The progression is natural. You'll move from small geometric patterns to slightly larger pieces with more color variation. Then you might try something with mixed stitches—combining cross stitch, backstitch, and fill stitch in the same project. Eventually you'll have enough confidence to adapt patterns or even design your own.
What's important to know: improvement isn't dramatic overnight. It's gradual. Your first piece will look rough compared to your fifth. But that's exactly how it should be. You're learning a skill that's been practiced for hundreds of years. Rushing it defeats the point.
Here's what usually happens in the first few weeks:
You'll feel clumsy. Your stitches will be inconsistent. Your tension will be all over the place. This is completely normal. Everyone feels this way. The point is just to get familiar with how the needle moves through the fabric.
Things start clicking. Your rhythm improves. You're not thinking about every single stitch anymore. Your hands are starting to remember the movements. This is when it gets satisfying because you can see real progress.
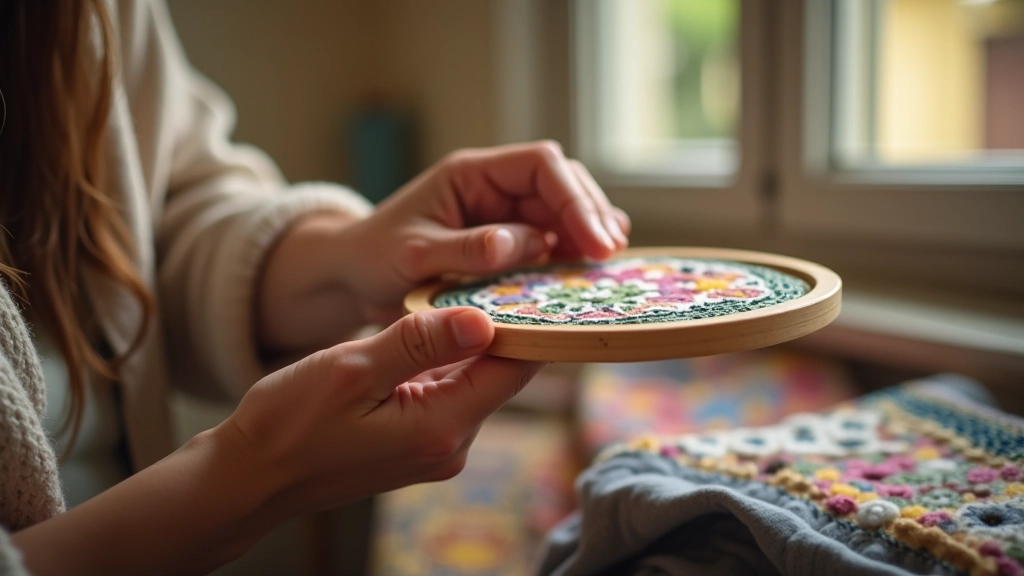
You've finished your first project. It's probably not perfect but it's genuinely good. You understand the techniques. You're ready to try something with more complexity or more colors. You might already be thinking about what you want to make next.
You don't need natural talent or previous experience. You don't need to be young or to have done crafts before. You need patience, a needle, some thread, and fabric. Everything else you'll learn by doing.
The best part about needlework is that it's yours. Every stitch you make is a decision, a tiny bit of control you're exercising. By the time you've finished even one small piece, you've created something that didn't exist before. That matters, especially in a world where so much feels like consumption rather than creation.
Our embroidery fundamentals courses run throughout the year in Portugal. Classes are small, instructors are experienced, and you'll work at your own pace. Get in touch to find out about upcoming sessions and what materials to bring.
Contact Us for DetailsThis article provides educational information about embroidery and needlework techniques for learning purposes. Individual results, learning pace, and skill development vary based on practice, dedication, and prior experience. The techniques described represent common approaches taught in beginner courses but aren't the only methods available. For personalized instruction tailored to your specific needs and goals, we recommend participating in structured courses with qualified instructors.
Learn how Portuguese artisans translate geometric designs onto ceramic tiles. Discover the history, techniques, and tools that bring these beautiful patterns to life.
Read More →
Discover how to create dyes from plant materials—indigo, madder, weld, and other traditional sources. Explore the chemistry and artistry of natural color.
Read More →
Your first weaving course covers loom setup, understanding warp and weft, and creating your first woven piece. Build foundation skills in this ancient craft.
Read More →