Hand-Weaving Introduction: Setting Up and Starting Simple
Your first weaving course covers loom setup, understanding warp and weft, and completing basic patterns. Most students finish a small finished piece within the first four weeks.
Why Hand-Weaving Matters Today
Hand-weaving isn't just about creating textiles. It's a meditative practice that connects you to centuries of craft tradition. When you sit at a loom, you're engaging your hands, mind, and creativity in a way that screens and devices simply can't replicate.
We've taught over 250 students since 2019, and the pattern is consistent — people arrive thinking they need natural talent, but really they just need patience and a good teacher. You'll be amazed at what you can create in those first weeks.
- Develop focus and presence through rhythmic hand work
- Create finished pieces you'll actually use and gift
- Join a community of makers and creative thinkers
- Learn skills that'll stay with you for life
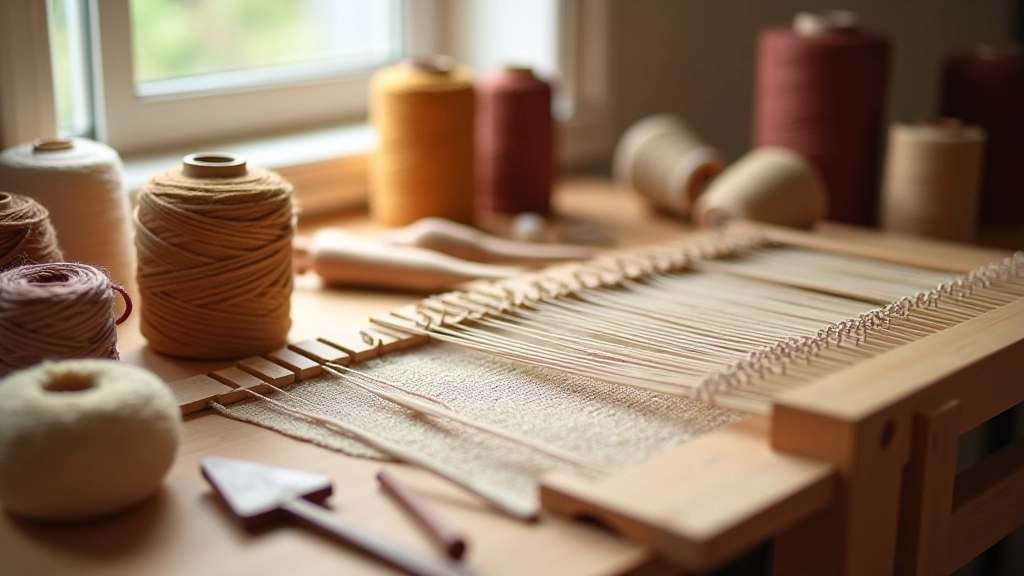
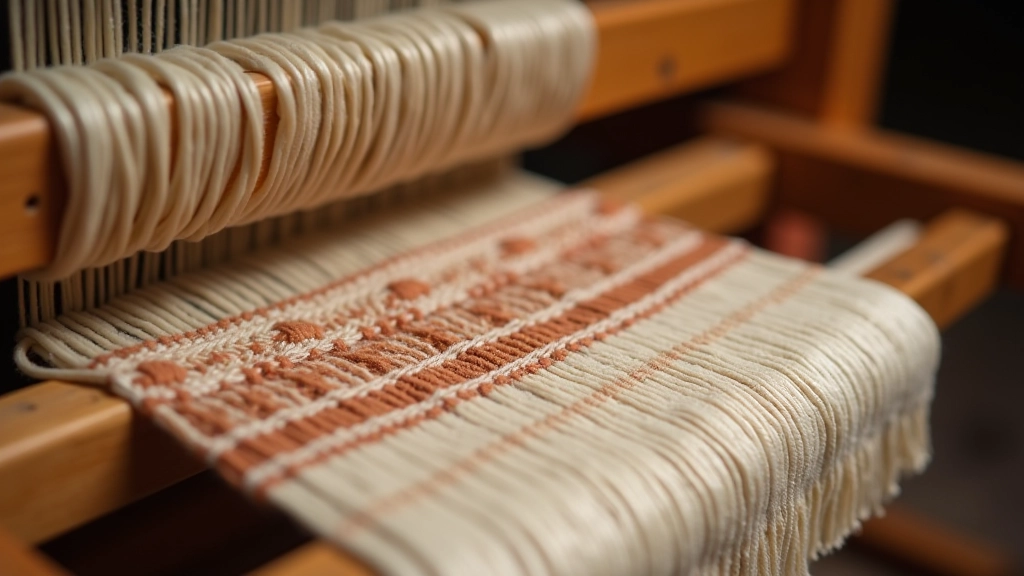
Setting Up Your Loom: The Foundation
Here's the thing — loom setup looks intimidating until you actually do it. Then you realize it's just methodical, not complicated. We start everyone with a 4-shaft rigid heddle loom. It's forgiving, portable, and honestly, it's what produces the best results for beginners.
The first step is warping. This means creating the vertical threads (the warp) that form the foundation of your weave. You'll measure out threads from your yarn cone, thread them through the heddle slots, and secure them at both ends. Takes about 30-45 minutes your first time. By your fourth project, you're doing it in 20.
Key measurement: Standard warp width is 12-16 inches for your first project. We recommend 36-count thread (thickness) for stability while you're learning.
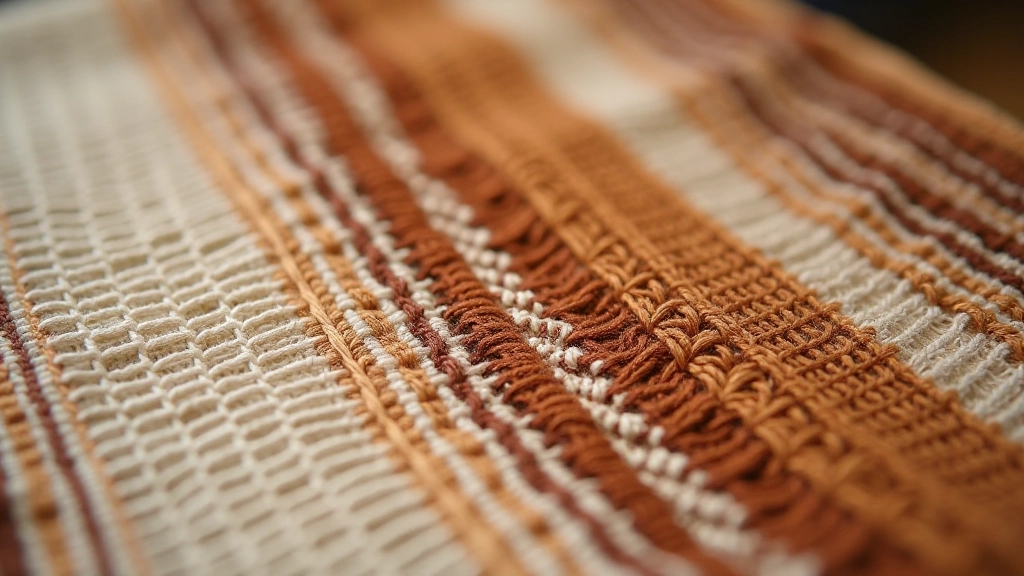
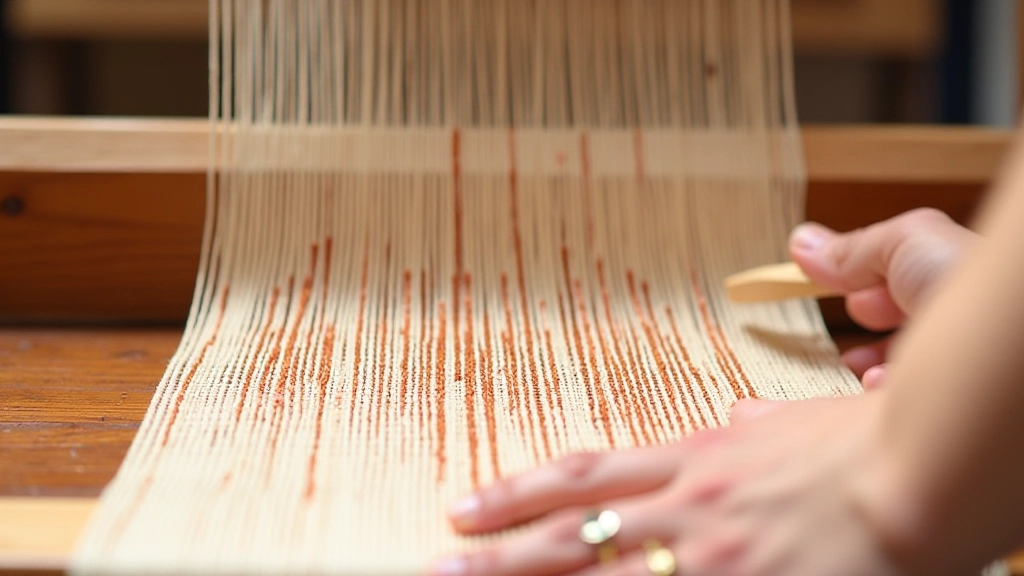
Warp and Weft: The Core Concept
The warp is your vertical threads. The weft is what you weave horizontally through them. That's it. That's the entire foundation of weaving. Everything you'll ever create is just variations on this simple idea.
Most beginners struggle because they overthink it. You're not building a machine or solving a complex equation. You're literally just passing one thread through another, back and forth, building something with your hands. There's something deeply satisfying about that simplicity.
The Warp
Your vertical foundation threads. These stay stationary on the loom and create structure. They're under tension the entire time you're weaving.
The Weft
Your horizontal threads that weave through the warp. These are what you control with your hands using a shuttle or needle. This is where your pattern and colors come alive.
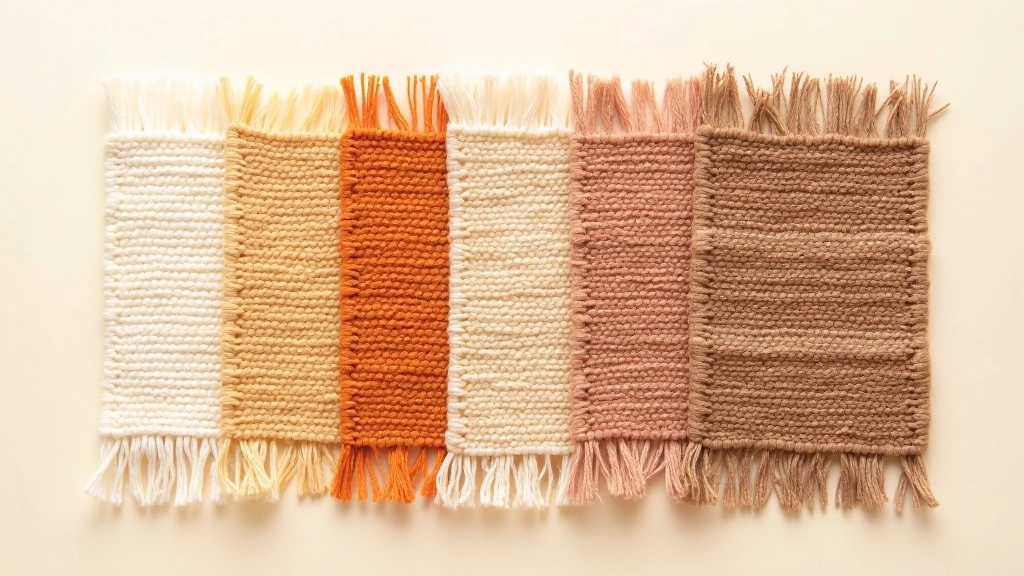
Starting with Simple Patterns
Your first project is always plain weave. It's over-under, over-under, back and forth. Some people think that sounds boring. They change their mind after about an hour when they realize they're actually making something.
Plain weave teaches your hands the rhythm. It builds muscle memory. And honestly, it's beautiful when you get the tension right and the colors work together. By week two, most students want to add complexity — maybe alternating colors, or introducing a second color every few rows.
Plain Weave (Week 1)
Over-under pattern with single color. Focus on even tension and consistent rhythm.
Color Stripes (Week 2)
Introduce a second color every 10-15 rows. Creates visual interest without complexity.
Simple Pattern (Week 3)
Alternating color blocks or simple geometric design. You're now understanding pattern planning.
Finished Piece (Week 4)
Remove from loom, secure edges, and finish your piece. You've completed your first full project.
Your Four-Week Journey
This isn't a guess. We've taught this exact progression to hundreds of students. These timelines are real.
Week 1: Foundation
Loom setup and warping. Plain weave basics. You'll feel clumsy at first — everyone does. By Friday, your hands start understanding the rhythm.
Week 2: Building Confidence
You're introducing color. The tension's getting better. You can actually see your pattern emerging. This is when most people stop worrying and start enjoying it.
Week 3: Getting Creative
You're planning your own pattern variations. You understand the mechanics. Now you're thinking like a weaver — about color, balance, and design.
Week 4: Completion
Removing from the loom, finishing edges, and admiring your finished piece. You've created something real. Something you made with your hands.
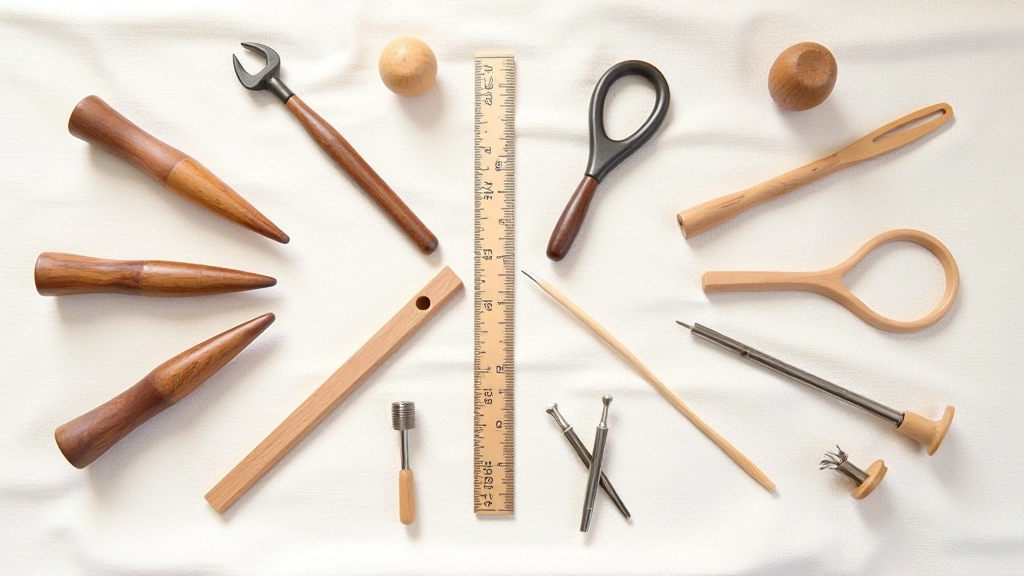
What You Actually Need
People think weaving requires tons of equipment. It doesn't. You need a loom (obviously), yarn, and maybe five other items. That's genuinely it.
Table Loom
Rigid heddle, 4-shaft. Costs 120-180€. Sits on your table. Portable and perfect for learning.
Yarn
Cotton or wool, worsted weight. You'll use about 500-700 meters for your first piece.
Shuttle
Wooden or plastic device for holding and passing weft thread. Usually comes with your loom.
Yarn Needle
Large eye, blunt tip. For weaving in ends and finishing. Costs 2-3€.
Scissors and Ruler
Basic cutting and measuring tools. You probably already have these at home.
Practical Tips That Actually Help
Tension is Everything
Consistent warp tension means even rows. Loose tension means loose weaving. It's the difference between "looks handmade" and "looks unfinished." Spend time getting this right from day one.
Plan Your Colors First
Spend 10 minutes sketching your color pattern on paper before you start weaving. Prevents the "I'm halfway through and I hate this color" moment. Happens to everyone the first time.
Keep Your Hands Relaxed
Tension in your shoulders makes everything harder. Weaving should feel meditative. If you're clenching, take a break. Your piece isn't going anywhere.
Keep Notes
Write down your yarn colors, thread count, and pattern notes. Your next project will reference this information. It's easier than trying to remember six months later.
Sample First
Always weave a small sample (6x6 inches) with your yarn and pattern before committing to your full piece. Saves frustration and teaches you how that particular yarn behaves.
Don't Aim for Perfect
Hand-woven textiles aren't meant to be machine-perfect. Small variations and slight irregularities are what make handmade pieces beautiful. Embrace the imperfection.
"I came thinking I'd be terrible at this. Four weeks later I'm wearing a scarf I made with my own hands. That feeling of completion, of creating something useful — it's changed how I think about my own creativity."
— Helena, age 58
Your Starting Point is Here
Hand-weaving isn't complicated. It's methodical, meditative, and absolutely learnable. You don't need natural talent. You need curiosity, patience, and someone who can show you the fundamentals. The rest follows naturally.
Most people underestimate what they can accomplish in four weeks. They show up thinking "I'll just try it." They leave with a finished piece they're proud of, and more importantly, they've discovered a practice that grounds them. That's worth something real.
Ready to start? Our introductory course runs every month. You'll work on your own loom, learn at your own pace, and finish with a completed piece. Most students report that weaving becomes part of their routine — something they come back to again and again.
About This Guide
This article is educational information about hand-weaving fundamentals. Timelines and experiences are based on our teaching experience with students ages 45+. Individual learning pace varies based on practice frequency, prior craft experience, and personal learning style. Hand-weaving involves repetitive hand motions — if you have wrist or hand concerns, consult with a healthcare provider before starting. This guide doesn't replace personalized instruction from a qualified weaving instructor.